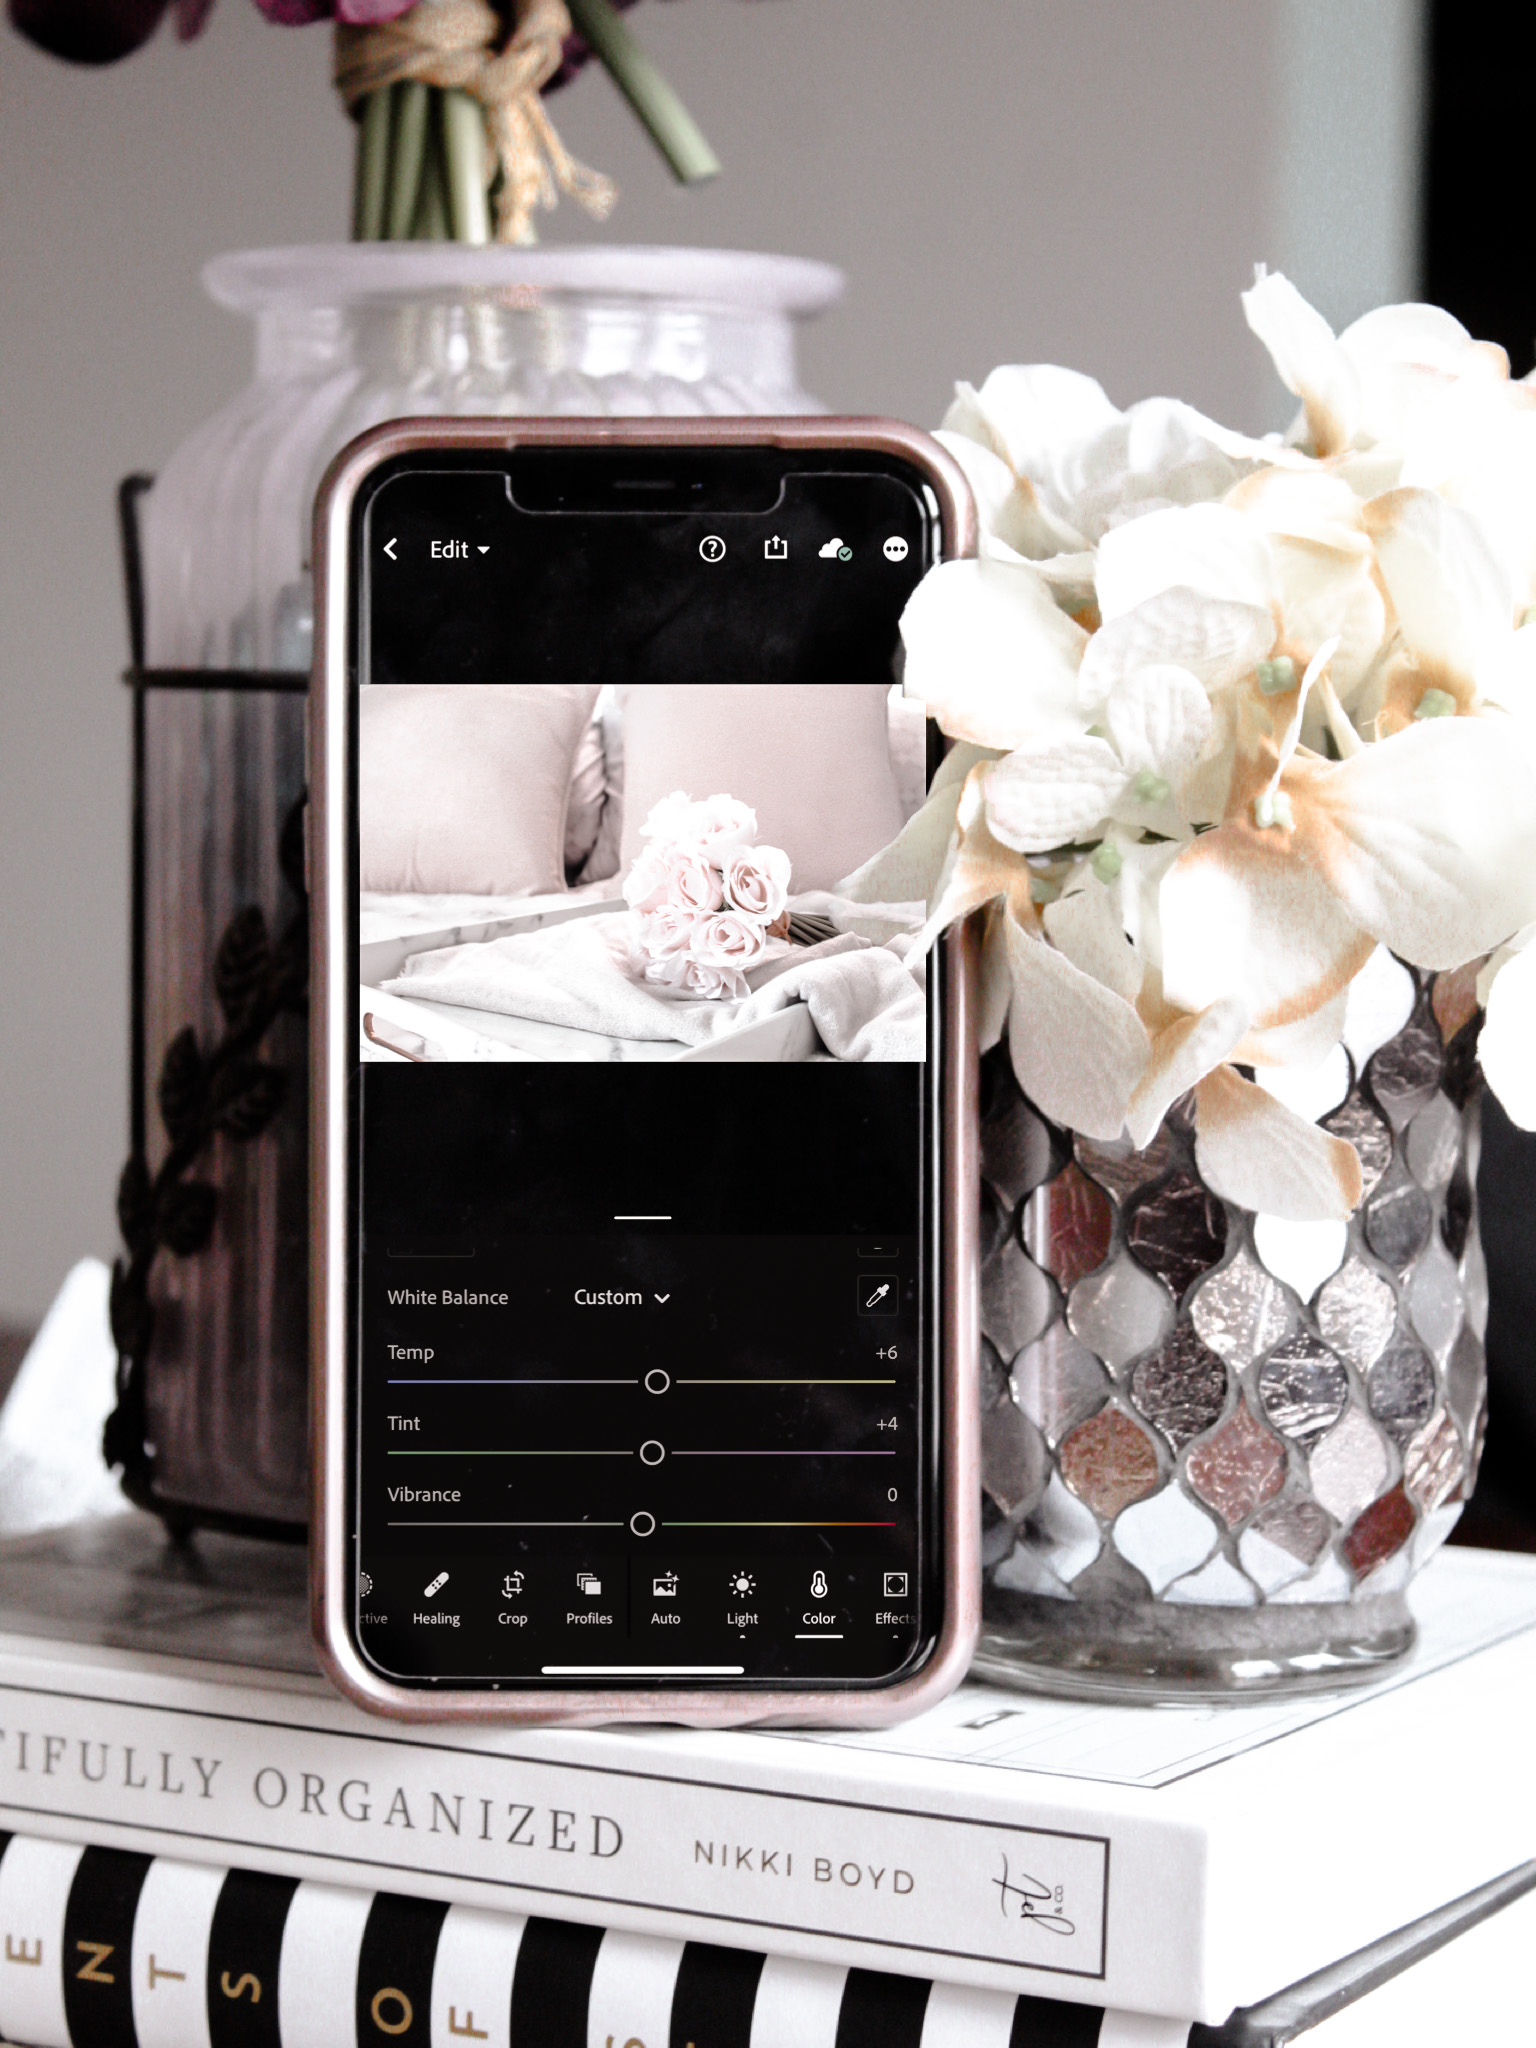
Since technology has evolved over the years, we have been spoiled with better picture taking versus using a point + shoot camera. Years ago, I remember working with the iPhone 3Gs and how excited I felt using Instagram’s built-in filters. I wanted to have a better picture quality on my social media since I was not exposed to the current apps we have now. Now in 2020, influencers use a variety of apps to edit their images besides photoshop. In my case, I use Lightroom to edit after I use my iPhone or my DSLR camera.
I discovered Lightroom last year when I realized I wanted to have a better color palette on my feed. I wanted my pictures to pop where you can actually see the color hues of pictures I would photograph. The DSLR camera is absolutely the best for specific photoshoots, but my phone makes it more portable so its much easier.
Editing with Lightroom is not difficult, but you first need to know the basics of Lightroom. Just like any photo editor, you have to know how to adjust Exposure, Contrast, Highlights, Shadows, Whites, and Blacks. Next, you have to understand Temp, Tint, Vibrance, and Saturation.

These main features will help determined how your initial color hues will impact your image. If you would like your image to have more warmth beige color, you would move the Temp number towards the right. If you wanted more of a red hue to your image, you would adjust the Tint towards the right. Now if you wanted more of a blue hue for your image, you would adjust the Temp to the left. Overall, it becomes easier to use once you come to understand the terminology.
The best part of using this section (“Color” ) is using the Mix button on the top right hand corner. It’s a circular rainbow image where you can easily click and it will pop a primary color menu selection. You are able to play with these different hues such as Red, Orange, Yellow, Green, Blue, Purple, and Pink that would be part of your image. In the upcoming blog posts, I will discuss in detail how to edit a picture using the Mix tool.

